Call our team
01484 442420Find An Applicator
Menu
close
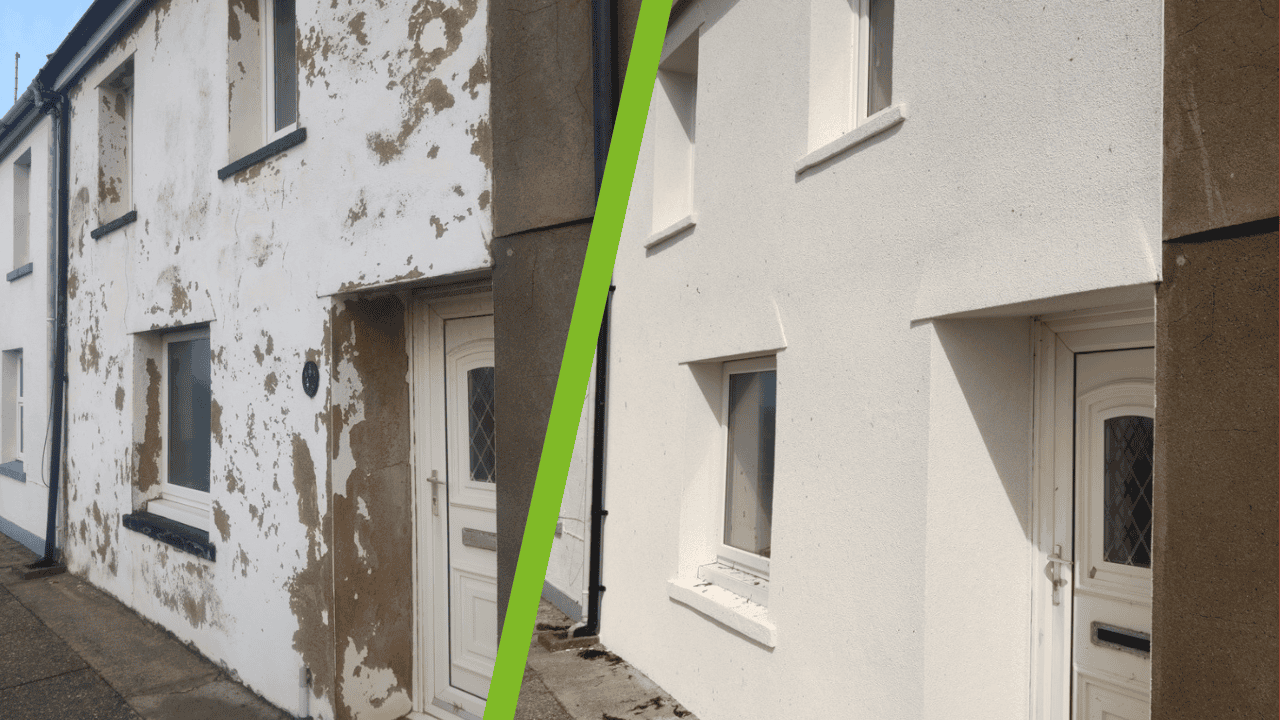
If your render is looking a little worse for wear, you might consider patching render to put things right. Before you dive in, it’s worth digging a little deeper to learn about how it works and the different options available. Read on as we do exactly that…
Patching render refers to the process of patch render repair. In other words, repairing specific problem patches rather than the entire wall. It’s typically used for two main rendering problems – cracked render and blown render.
Blown render occurs when the render separates from the wall beneath it. This results in a hollow structure which may be visible as bubbles initially. Bubbles will sound hollow when tapped and give the wall an uneven appearance.
As time goes on, blown render will usually crack and even fall off, leaving patches of your wall exposed. As well as being an eyesore, these patches will allow moisture to penetrate, which could cause further damage.
Alternatively, render can crack. This usually happens due to the natural movement of the building or the expansion and contraction of other building materials.
However, some renders can cope with these issues. The problem of cracking is specific to renders which aren’t flexible, such as traditional sand and cement render.
There’s more to cracked render than a visible problem too. When render cracks, it breaks the surface of the covering which allows moisture to get in. Over time, this can make cracks worse and – again – leave parts of your wall exposed to the elements.
Patching render is much quicker than the usual alternative – which would be stripping off the entire wall of worn render and starting from scratch. Because you don’t need to remove other parts of the render, the job can take a few hours rather than a few days.
For the same reasons as above, patch render repair is also cheaper. If you’re hiring a contractor, the charge for labour and materials will be much lower. Or if you’re patching render as a DIY project, you’ll need less sand and cement (or other products) to cover the patches you’re working on.
On top of everything else, patching your render is less wasteful than stripping off an entire wall when the majority is still in good nick. That means no need for a skip or a mess outside your property either.
Unfortunately, patch render repair isn’t completely faultless. Here are a few potential drawbacks to patching your cracked or blown rendered walls:
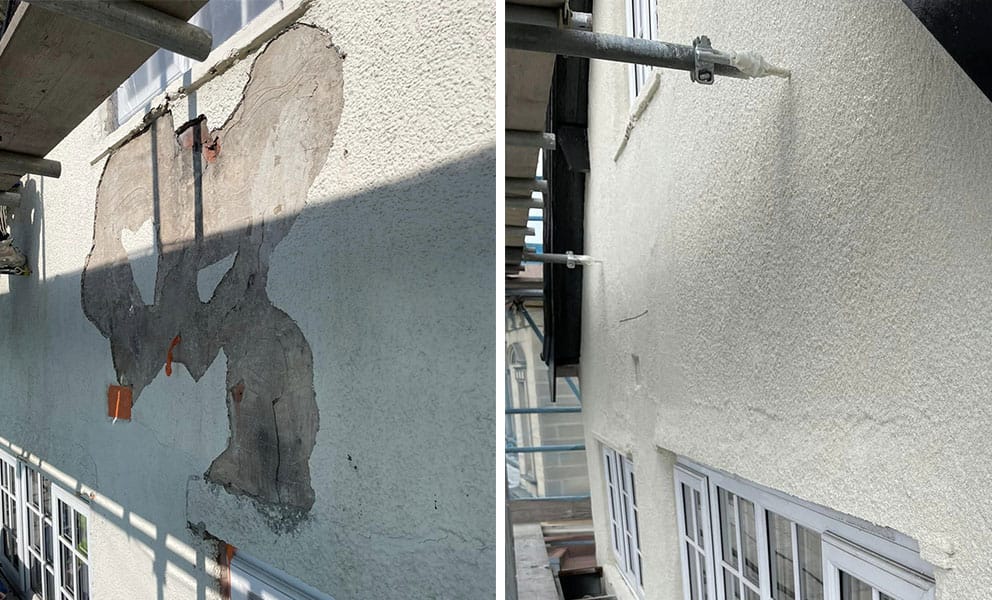
Firstly, patches that you re-render will typically be noticeable compared to the rest of the rendered wall. Even if you use the same-coloured product to patch render, there will be a difference because colours can change with age and weathering.
The biggest downside to patching render is that it might not work. Without tackling the underlying cause, you risk more cracks or blown patches in your render due to the same reasons – whether that’s poor adherence, inflexibility or a lack of weather resistance.
If, as above, patching render doesn’t solve the problem for your walls, you could end up continually arranging repairs for your walls or getting your tools out to fix it yourself. Either way, it’s hassle you don’t need with the constant worry that your walls aren’t protected.
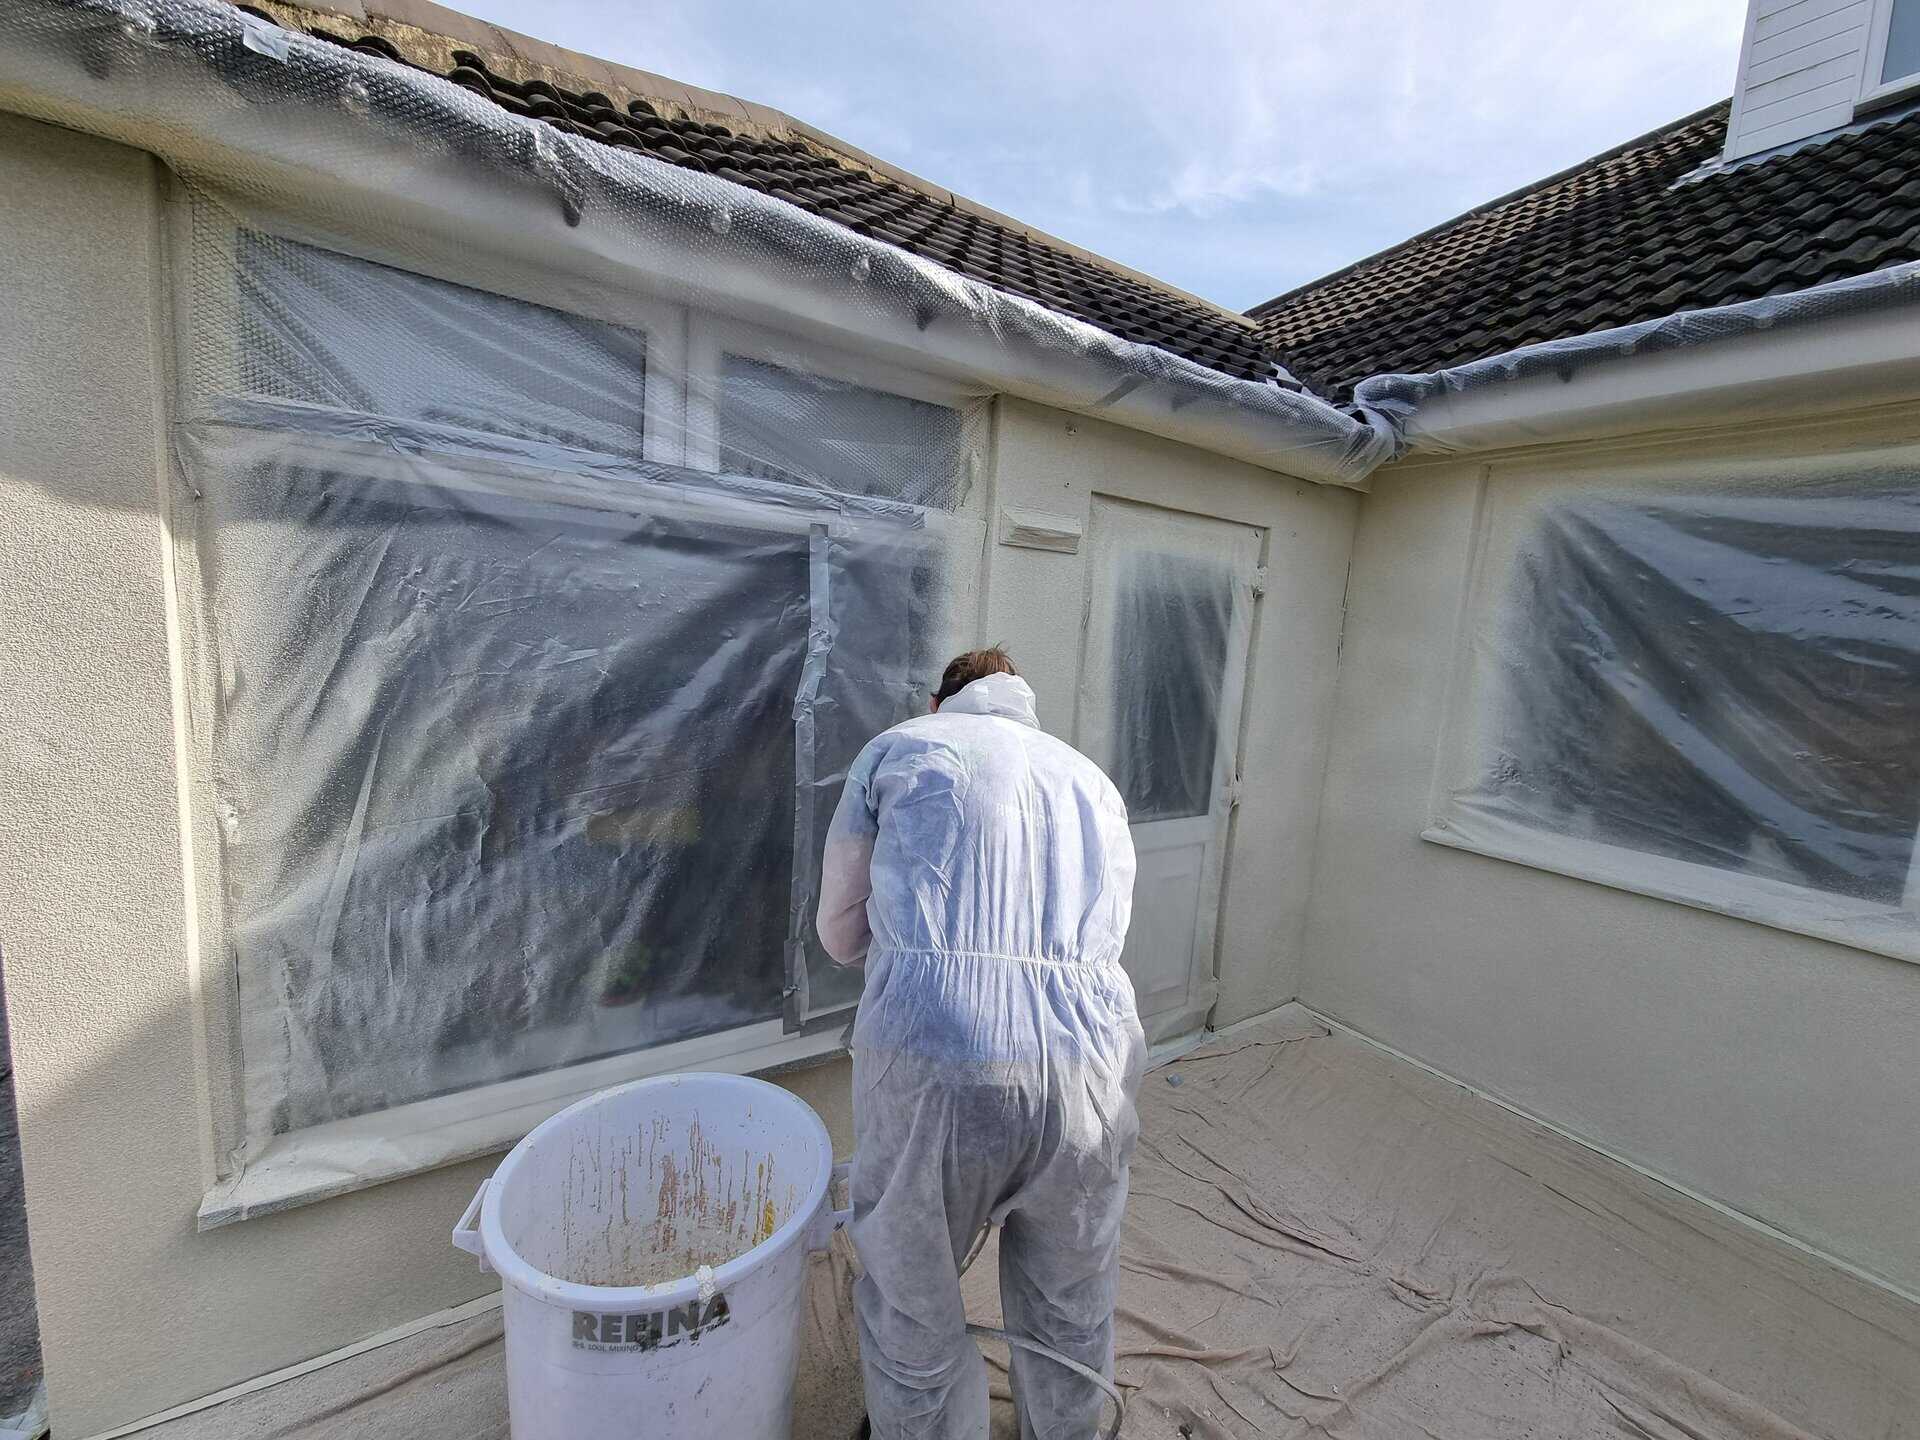
The process for patching render depends on the problem you’re dealing with and the condition of your walls. Firstly, walls will need to be inspected to see whether patching is possible and identify any underlying causes. If cracks in your render are particularly big, for example, your property may be suffering from subsidence rather than the small movements that are normal for some buildings.
If cracks are small, patch repairs may be a suitable solution. The first step is to clean the affected area to remove dust and dirt. This can be done using a jet wash or small brush. However, the cracks must be dry before continuing.
Next, cracks will need to be filled. This is typically done using the same product which was used to render walls initially, or as close as you can get. Alternatively, you can use a weather-resistant filler and paint over it to match the colour – as getting most renders into cracks is easier said than done.
With blown render, you’ll need to remove any damaged render and strip back these areas to the brickwork underneath. A claw hammer can be used, though an electric breaker will make things less labour-intensive – starting from the middle of blown patches and working outwards until you reach solid render.
After this, the wall will need to be properly cleaned to remove debris and dust. In many cases, failure to clean walls is the cause of blown render in the first place. Finally, it’s onto applying coats of adhesive and render, which depends on the type of render you’re using.
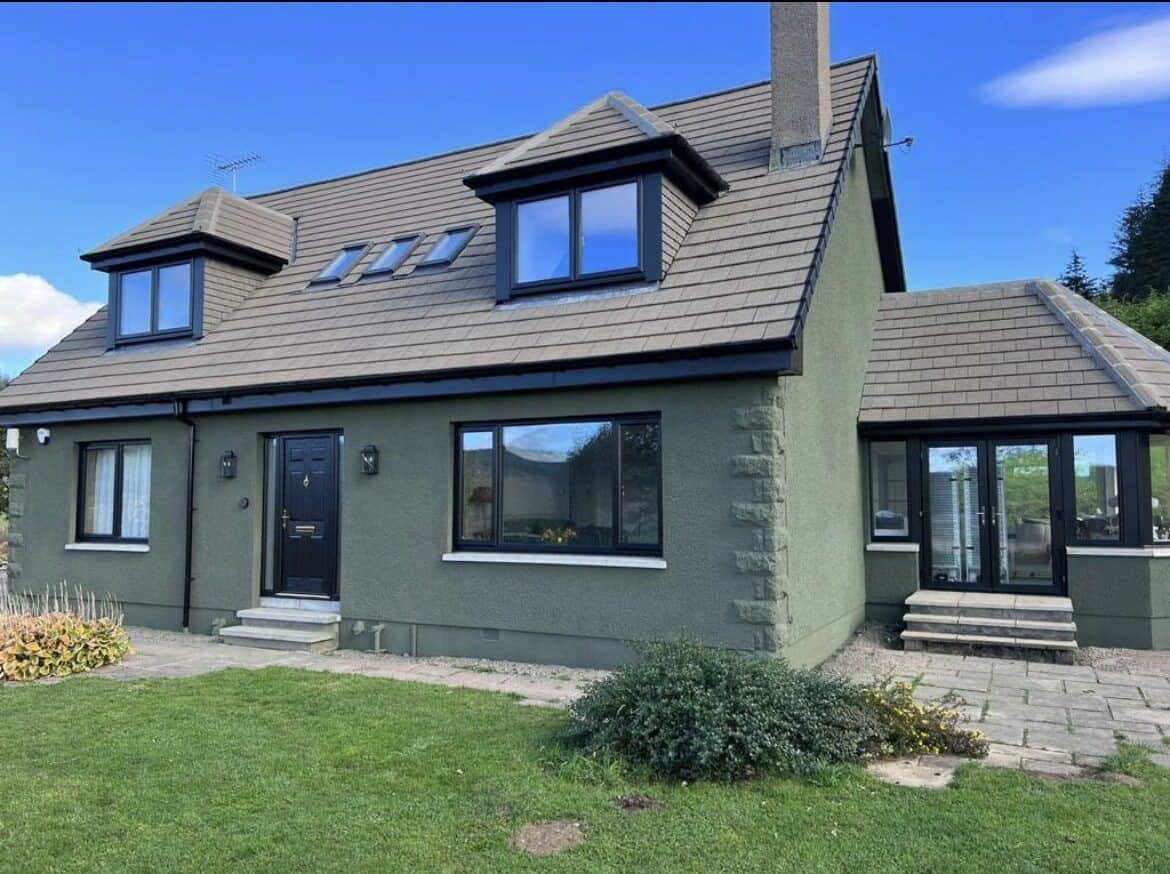
If you want the benefits of patching render without the drawbacks, SprayCork may offer a better alternative. Rather than simply patching render, our process involves a complete overspray of existing render to provide long-lasting flexibility and weather resistance.
There’s still no need to remove your render, meaning it’s still quick and hassle-free. However, you’ll benefit from a 25-year warranty, so you know it will stand the test of time – not to mention that it will look so much better than a patched up rendered wall.
Patching render is a short-term solution at best. If you want a long-lasting alternative to patch render repair, contact the team at CorkSol today. With our network of approved applicators, we can refer you to a specialist contractor near you, who can inspect the condition of your walls and provide a quote for render repair if appropriate.
Email [email protected] or call 01484 442420 to get started.
"*" indicates required fields